The Nikon D40X represents a fantastic entry point into the world of Digital Single-Lens Reflex (DSLR) photography, offering impressive image quality and user-friendly operation.
What is the Nikon D40X?
The Nikon D40X, released in 2007, is a 10.2-megapixel DSLR camera designed for both beginner and enthusiast photographers. It’s celebrated for its compact size, lightweight build, and excellent image quality, making it a popular choice for those transitioning from point-and-shoot cameras or seeking an affordable entry into the world of interchangeable lenses.
This camera utilizes a Nikon F-mount, allowing compatibility with a vast range of Nikon lenses – both older, manual-focus lenses and newer autofocus options. The D40X features a large 2.0-inch LCD screen for image review and menu navigation. It’s built around an APS-C sized sensor, delivering images with pleasing color rendition and good dynamic range.

While lacking some of the advanced features found in higher-end DSLRs, the D40X excels in providing a solid foundation for learning photography fundamentals. Its simplified controls and intuitive menu system make it accessible to newcomers, while still offering enough manual control for experienced users to explore their creativity.
Key Features and Specifications
The Nikon D40X boasts a 10.2-megapixel DX-format CCD sensor, delivering detailed images. It features a Nikon F-mount, supporting a wide array of lenses. Its ISO range extends from 100 to 1600, expandable to 3200, offering flexibility in various lighting conditions.
Key specifications include a 2.0-inch LCD screen with 230,000 dots resolution, and a shutter speed range of 1/500 to 1/2000 second. Continuous shooting reaches 2.5 frames per second. The camera supports SD memory cards for storage.
It incorporates a 3-point autofocus system and offers multiple exposure modes, including Auto, Program, Aperture-priority, Shutter-priority, and Manual. The D40X’s compact body measures approximately 124 x 94 x 64 mm and weighs around 520g (body only). Built-in pop-up flash provides additional illumination. Its robust construction ensures durability for everyday use.

Getting Started with Your D40X
Now that you have your Nikon D40X, let’s begin setting it up for fantastic photography! This section guides you through the initial steps for operation.
Unboxing and Initial Setup
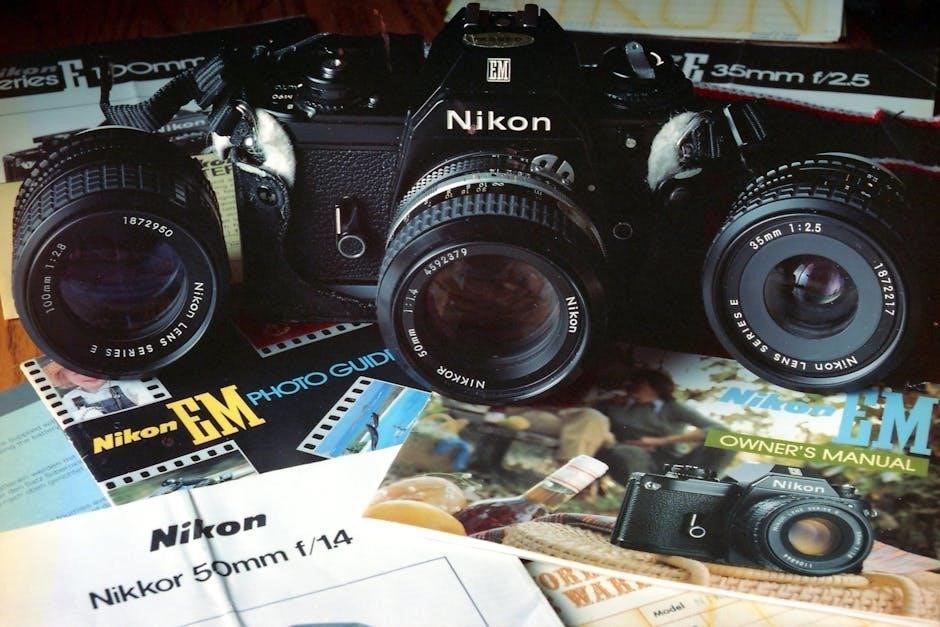
Carefully unpack your Nikon D40X and verify all included components are present. You should find the camera body, a kit lens (typically an 18-55mm), a battery, a battery charger, a strap, body cap, lens cap, and various documentation including this instruction manual and warranty information.
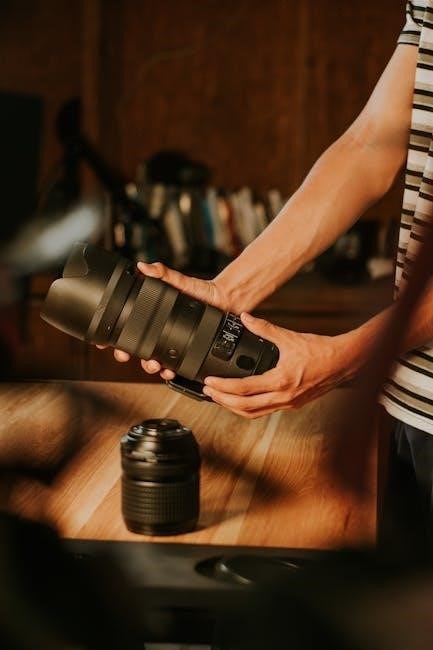
Before attaching the lens, inspect both the camera body mount and the lens mount for any dust or debris. Gently clean if necessary using a blower. Align the white dot on the lens with the corresponding dot on the camera body, and rotate the lens clockwise until it clicks securely into place.
Attach the strap to the camera body by sliding the strap ends through the designated loops. Ensure a secure connection to prevent accidental drops. Familiarize yourself with the location of key buttons and dials – don’t worry about understanding them all just yet, we’ll cover those in detail later. For now, simply get comfortable holding the camera and identifying its basic components.

Inserting the Battery and Memory Card
Locate the battery compartment on the bottom of the Nikon D40X. Slide the battery compartment latch to the ‘Open’ position and lift the door. Insert the EN-EL9 battery pack, ensuring the contacts align correctly. Push the battery in until it clicks and the latch automatically closes.
Next, find the memory card slot, usually located on the side of the camera. The D40X supports SD memory cards. Gently insert the SD card into the slot, label side facing up, until it clicks into place. Do not force the card.
To remove either the battery or the memory card, slide the respective latch to the ‘Open’ position. Avoid touching the electrical contacts on either component. Always power off the camera before inserting or removing either the battery or the memory card to prevent data corruption.
Understanding the Mode Dial
The Mode Dial, prominently positioned on the top-right of the Nikon D40X, is your primary control for selecting shooting modes. ‘Auto’ mode lets the camera handle all settings for effortless shooting. ‘Program’ (P) allows some user control while the camera manages aperture and shutter speed.
‘Aperture Priority’ (A or Av) lets you set the aperture, influencing depth of field, while the camera determines shutter speed. ‘Shutter Priority’ (S or Tv) allows you to control shutter speed, useful for motion blur or freezing action, with the camera adjusting aperture.
‘Manual’ (M) grants full control over both aperture and shutter speed. The ‘Scene’ mode offers pre-set options for portraits, landscapes, and more. Finally, there’s a flat area for turning the camera off. Familiarize yourself with each mode to unlock the D40X’s full potential!
Basic Camera Operations
Mastering fundamental operations is key to utilizing the Nikon D40X effectively, enabling you to capture stunning images with confidence and creative control.
Focusing Modes: Auto vs. Manual
The Nikon D40X offers both Autofocus (AF) and Manual Focus (MF) modes, each suited to different shooting scenarios. Autofocus is ideal for general photography, quickly and accurately locking focus on your subject. Within AF, you’ll find options like AF-S (Single Servo) for stationary subjects and AF-C (Continuous Servo) for moving subjects. Selecting the correct AF mode ensures sharp images.
Manual Focus, conversely, grants you complete control over the focusing ring on the lens. This is particularly useful in low-light conditions where autofocus may struggle, or when precise focus is critical – such as in macro photography. Switching between AF and MF is done via a switch on the lens itself. Remember to carefully observe the focus point in the viewfinder when using manual focus to achieve optimal sharpness. Practice with both modes to understand their strengths and weaknesses, and choose the one that best suits your photographic needs.
Exposure Control: Aperture, Shutter Speed, and ISO
Achieving a properly exposed photograph hinges on understanding the interplay between aperture, shutter speed, and ISO. Aperture, controlled by the f-stop, dictates the lens opening’s size, influencing depth of field – how much of the image is in focus. Lower f-numbers (e.g., f/2.8) create shallow depth of field, ideal for portraits, while higher f-numbers (e.g., f/16) yield greater depth of field for landscapes.
Shutter speed determines how long the camera’s sensor is exposed to light. Faster shutter speeds freeze motion, while slower speeds allow more light in but can introduce blur. ISO measures the sensor’s sensitivity to light; higher ISOs are useful in low light but can introduce noise. Mastering these three elements – often adjusted in Program, Aperture-priority, or Shutter-priority modes – is crucial for creative control over your images. Experiment to see how each setting impacts your final result.
Shooting in Auto Mode
For beginners, the Nikon D40X’s Auto mode provides a straightforward shooting experience. Simply set the mode dial to ‘Auto’ (indicated by a green camera icon), and the camera automatically selects the optimal settings for aperture, shutter speed, ISO, and white balance based on the scene. This is perfect for quick snapshots and everyday photography when you don’t have time to adjust manual settings.
To take a photo in Auto mode, half-press the shutter button to focus, and fully press it to capture the image. The camera will handle everything else! While convenient, remember that Auto mode offers limited creative control. However, it’s an excellent starting point to learn composition and framing before venturing into more advanced modes. Don’t forget to review your images on the LCD screen to assess the results and understand how the camera interpreted the scene.

Advanced Features & Settings
Delving deeper, the Nikon D40X unlocks creative potential through customizable settings, allowing photographers to fine-tune images and explore artistic expression.
Understanding White Balance
White balance (WB) is a crucial setting that affects the color temperature of your images. Essentially, it ensures that white objects appear white, and colors are rendered accurately, regardless of the lighting conditions. The Nikon D40X offers several white balance presets, accessible through the camera’s menu. These include Auto, Incandescent, Fluorescent, Direct Sunlight, Flash, Cloudy, and Shade.
Auto White Balance is a good starting point, as the camera attempts to determine the correct color temperature automatically. However, it isn’t always perfect. For more precise control, select the preset that best matches your lighting situation. For example, use ‘Fluorescent’ when shooting indoors under fluorescent lights. You can also use Custom White Balance, where you point the camera at a white or gray card to establish a reference point. This is particularly useful in challenging lighting environments where presets may not deliver accurate results. Incorrect white balance can result in color casts – images appearing too warm (yellowish/reddish) or too cool (bluish). Experimenting with different settings will help you achieve the desired look for your photographs.
Exploring Picture Control Settings
Picture Control settings on the Nikon D40X allow you to customize the look of your images directly within the camera, influencing factors like sharpness, contrast, brightness, and saturation. You can access these settings via the camera menu. The D40X offers three pre-set Picture Controls: Standard, which provides a balanced look suitable for a wide range of subjects; Neutral, offering a flatter profile ideal for post-processing; and Vivid, enhancing colors for a more dramatic effect.
Beyond these presets, you can create Custom Picture Controls, tailoring each parameter to your specific preferences; Adjusting sharpness impacts the detail in your images, while contrast affects the difference between light and dark areas. Brightness controls the overall lightness or darkness, and saturation determines the intensity of the colors. Experimenting with these settings allows you to develop a unique visual style. Saving your custom settings ensures consistent results across your photos, streamlining your workflow and achieving your desired aesthetic.
Using the Built-in Flash
The Nikon D40X features a built-in flash, a convenient tool for illuminating subjects in low-light conditions or adding fill-light to overcome harsh shadows. To activate the flash, press the flash button (marked with a lightning bolt symbol) on the camera’s hot shoe area. The flash will automatically pop up. You can cycle through flash modes by pressing the same button again: Auto (the camera decides when to fire the flash), Auto with Red-Eye Reduction (pre-flashes to reduce red-eye), Fill-Flash (fires the flash with every shot), and Slow Sync (combines flash with a slower shutter speed).
For optimal results, consider the flash compensation setting, accessible through the camera menu. This allows you to adjust the flash’s intensity. Be mindful of potential issues like harsh shadows or washed-out highlights. Diffusers can soften the flash’s light, creating a more natural look. Remember that the built-in flash has a limited range, so it’s most effective for close-up subjects.
Maintenance and Troubleshooting
Regular care and understanding common issues will ensure your Nikon D40X continues delivering stunning images for years to come, reliably and consistently.
Cleaning Your Nikon D40X
Maintaining a clean camera is crucial for optimal performance and image quality. Dust and debris can accumulate on the sensor, lens, and body, potentially affecting your photographs. Always power off the camera and remove the battery before cleaning.
For the camera body, use a soft, dry microfiber cloth to wipe away dust and fingerprints. Avoid using harsh chemicals or abrasive cleaners, as these can damage the finish. For stubborn smudges, lightly dampen the cloth with water.
The lens should be cleaned with a lens cleaning solution and specialized lens paper. Apply a small amount of solution to the paper, not directly onto the lens, and gently wipe in a circular motion. Never use household cleaners or tissues.
Sensor cleaning is more delicate. Use a blower to remove loose dust particles. If necessary, employ a sensor cleaning kit specifically designed for the Nikon D40X, following the instructions carefully. Improper sensor cleaning can cause damage. Consider professional cleaning if you’re uncomfortable performing this task yourself.
Regularly clean the viewfinder with a blower or a soft brush to remove dust. Inspect the contacts on the battery and memory card compartments and clean them gently with a dry cotton swab if needed.
Common Issues and Solutions
Encountering problems with your Nikon D40X is normal. Here are some frequent issues and their solutions. “Error Messages” on the LCD often indicate a card issue; try reformatting or a different card. Blurry images usually stem from incorrect focusing or a slow shutter speed – ensure proper focus and increase ISO in low light.
If the camera won’t turn on, check the battery charge and ensure it’s correctly inserted. Slow autofocus can be improved by selecting the correct focus mode for your subject. Dark images might require adjusting exposure compensation or using a wider aperture.
Lens errors often mean the lens isn’t properly attached; re-mount it securely. Memory card errors can sometimes be resolved by cleaning the card contacts. If the flash isn’t firing, verify flash settings and battery levels. Refer to the full manual for detailed troubleshooting steps and error code explanations.
Where to Find Further Support
Need more assistance with your Nikon D40X? Nikon provides extensive support resources. The official Nikon website (https://nikonusa.com/) hosts a comprehensive support section, including downloadable manuals, FAQs, and software updates. You can also access Nikon’s online knowledge base for troubleshooting guides and tutorials.
Nikon’s customer support team is available via phone and email; contact details are listed on their website; Numerous online forums and communities dedicated to Nikon photography offer valuable advice and peer-to-peer support. Websites like DPReview and NikonCafe are excellent resources.
Consider exploring YouTube for video tutorials covering various D40X features and techniques. Finally, local camera stores often provide workshops and support for Nikon users. Don’t hesitate to leverage these resources to maximize your photographic experience!
Comments