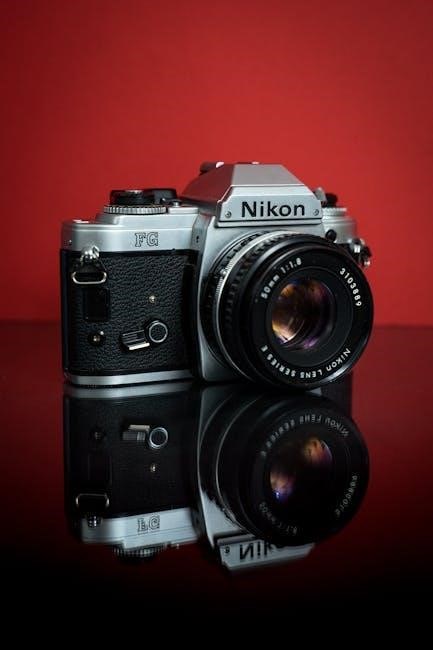
Welcome! This comprehensive guide unlocks your Nikon D7200’s potential, building on the D7100’s success with notable feature upgrades and detailed instructions.
What’s in this User Manual?
This manual serves as your complete companion to the Nikon D7200, designed to guide you from initial setup to mastering advanced features. We’ll begin with a detailed exploration of the camera’s components, including front, rear, and top panel controls, clarifying each button and dial’s function.
You’ll find step-by-step instructions for inserting the battery and memory card, configuring initial settings like language and date/time, and selecting appropriate shooting modes – Auto, Program, Shutter-priority, Aperture-priority, and Manual.
Furthermore, we’ll delve into understanding crucial shooting settings such as ISO sensitivity, aperture, shutter speed, and exposure compensation. We’ll also cover focusing modes and AF-point selection, alongside advanced customization options like Picture Control settings, white balance adjustment, and custom function configurations. Finally, we’ll address common troubleshooting issues.
Key Features and Improvements over the D7100
The Nikon D7200 builds upon the foundation laid by the popular D7100, introducing several key enhancements. Central to these is the upgraded 24.2MP APS-C sensor, delivering impressive image quality and detail. A significant improvement lies in the advanced 51-point autofocus (AF) system, promising faster and more accurate subject tracking.
While not a radical overhaul, the D7200 incorporates important refinements for a smoother user experience. These include expanded ISO range, enhanced buffer capacity for continuous shooting, and improved video capabilities.
This manual will highlight how these features translate into practical benefits, helping you leverage the D7200’s capabilities to capture stunning photographs and videos.

Camera Components & Controls
Explore the D7200’s physical layout! This section details the front, rear, and top panel controls, providing a clear understanding of button and dial functions.
Front and Rear Panel Overview
Front Panel: The Nikon D7200’s front panel houses essential elements for lens attachment, the autofocus-assist illuminator, and the function button. Understanding the lens mount is crucial for compatibility and proper operation. The self-timer/mirror-up button initiates timed exposures or locks the mirror for vibration-free shooting. Additionally, the microphone input allows for external audio recording, enhancing video capabilities.
Rear Panel: The rear panel is dominated by the large, high-resolution LCD screen, providing a clear view for composing shots and reviewing images. Surrounding the screen are buttons for menu navigation, image playback, and quick access to key settings. The diopter adjustment dial ensures a comfortable view for users with varying vision. The multi-selector enables precise AF-point selection and menu navigation. Finally, the card slot accommodates SD memory cards for storing your photos and videos.
Top Panel Controls Explained
Mode Dial: The prominent mode dial on the Nikon D7200 allows quick selection of shooting modes – Auto, Programmed Auto, Shutter-priority, Aperture-priority, and Manual. These modes offer varying levels of control over exposure settings. Release Mode Dial: Adjacent to the mode dial, the release mode dial controls single shot, continuous shooting, and self-timer functions.
Control Dials: Two control dials provide intuitive adjustment of aperture, shutter speed, and other settings. The top dial often controls primary settings, while the sub-dial offers finer adjustments. Buttons: The top panel also features buttons for ISO sensitivity, white balance, and quality settings, providing quick access to frequently used functions. The shutter button initiates the exposure process.
Button and Dial Functions
Multi-function Button (MFB): This versatile button, located near the shutter release, offers context-sensitive functions depending on the shooting mode. It’s crucial for quick access to settings like AF-point selection and ISO adjustment. Control Dials: The front and rear dials work in tandem, controlling aperture in Aperture-priority mode, shutter speed in Shutter-priority, and exposure compensation in other modes.
AF-ON Button: Dedicated to autofocus activation, this button allows separation of focusing and shooting actions, useful for back-button focus techniques. Directional Buttons: These buttons navigate menus and select AF-points. Understanding their functions streamlines camera operation and enhances shooting efficiency.

Setting Up Your D7200
Begin your journey! Properly inserting the battery and memory card initiates the process, followed by configuring essential settings like language and date/time.
Inserting the Battery and Memory Card
Powering On & Storage: Begin by locating the battery compartment door on the bottom of the D7200. Release the latch and gently slide the door open. Insert the EN-EL15 battery pack, ensuring the contacts align correctly, and push it in until it clicks. Secure the battery compartment door by sliding it closed until the latch clicks.

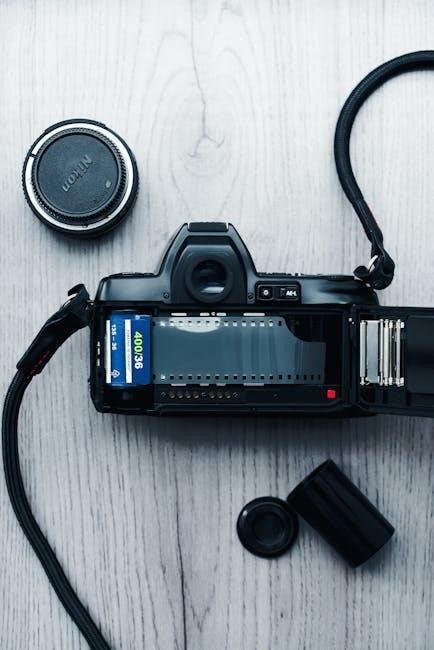
Next, find the memory card slot, typically located on the side of the camera. Open the card slot cover. The D7200 supports SD memory cards. Insert a compatible SD card (SD, SDHC, or SDXC) label-side up, pushing it in until it clicks. Gently push the card in further to ensure it’s fully seated. Close the memory card slot cover. Your D7200 is now ready to capture stunning images!
Initial Camera Setup (Language, Date/Time)
First-Time Configuration: Upon powering on, the D7200 will guide you through an initial setup process. First, select your preferred language from the displayed list using the multi-selector and pressing the OK button. This ensures the camera’s menus and displays are in a language you understand.
Next, accurately set the date and time. Correct date and time settings are crucial for proper image file organization and metadata. Use the multi-selector to adjust the year, month, day, hour, and minute. Confirm each setting by pressing the OK button. Accurate settings are vital for timestamping your photos. Finally, confirm your selections to complete the initial setup.
Choosing Shooting Modes (Auto, P, S, A, M)
Mastering Control: The Nikon D7200 offers various shooting modes to suit different skill levels and creative intentions. Auto mode simplifies operation, letting the camera handle all settings. Program (P) allows for some control while the camera manages aperture and shutter speed.
For more control, use Shutter-priority (S) to set shutter speed for motion control, or Aperture-priority (A) to control depth of field. Manual (M) grants full control over both aperture and shutter speed, ideal for experienced photographers; Experiment with each mode to understand how they impact your images and unlock your creative potential.
Understanding Shooting Settings
Dive Deeper: Explore crucial settings like ISO, aperture, shutter speed, and focusing modes to achieve optimal exposure and sharp, captivating photographs consistently.
ISO Sensitivity and Noise Reduction
ISO control is fundamental to image brightness, but increasing it introduces noise – graininess affecting image quality. The Nikon D7200 offers a wide ISO range, allowing shooting in diverse lighting conditions. Lower ISO values (e.g., 100) deliver cleaner images in bright light, while higher values (e.g., 25600) enable shooting in darkness.
However, higher ISOs necessitate understanding noise reduction. The D7200 provides in-camera noise reduction options, balancing detail preservation with noise suppression. Experiment with these settings to find the optimal level for your needs. Consider shooting in RAW format for greater flexibility in post-processing noise reduction without sacrificing image detail. Mastering ISO and noise reduction is key to maximizing image quality across all shooting scenarios.
Aperture, Shutter Speed, and Exposure Compensation
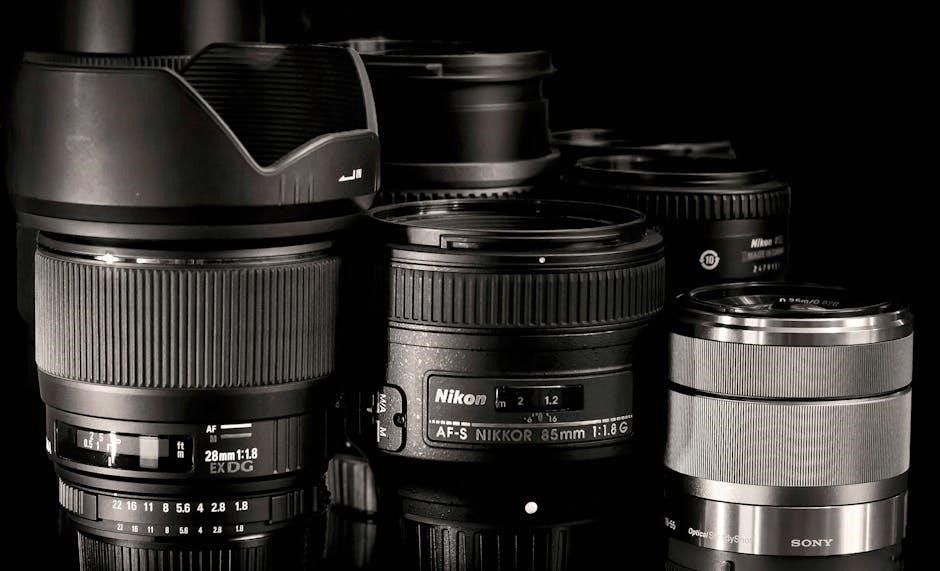
Aperture controls lens opening, influencing depth of field – the area in focus. Wider apertures (lower f-numbers like f/2.8) create shallow depth of field, ideal for portraits. Narrower apertures (higher f-numbers like f/16) yield greater depth of field, suitable for landscapes.
Shutter speed determines exposure duration, impacting motion blur. Faster shutter speeds freeze action, while slower speeds create motion blur. Exposure compensation allows fine-tuning brightness, overriding the camera’s automatic metering. Use it to brighten or darken images when the camera’s assessment isn’t ideal. Understanding these three elements is crucial for achieving properly exposed and creatively compelling photographs.
Focusing Modes and AF-Point Selection
The Nikon D7200 offers diverse focusing modes for various scenarios. Single-servo AF (AF-S) is best for stationary subjects, focusing once when the shutter button is half-pressed. Continuous-servo AF (AF-C) tracks moving subjects, continuously adjusting focus. Auto-servo AF (AF-A) automatically switches between AF-S and AF-C.
AF-point selection lets you choose where the camera focuses. Options include Single-point AF for precise control, Dynamic-area AF for tracking moving subjects within a defined area, and Auto-area AF for automatic point selection. The D7200’s 51-point AF system provides extensive coverage and accuracy, enhancing your ability to capture sharp images.

Advanced Features & Customization
Explore further! Dive into Picture Control settings, white balance adjustments, and custom function options to personalize your D7200 for optimal performance.
Picture Control Settings
Unleash creative control! Nikon’s Picture Control system allows you to tailor the look of your images directly within the camera, eliminating extensive post-processing. The D7200 offers several preset options, including Standard, Neutral, Vivid, Monochrome, and Portrait, each designed to deliver a specific aesthetic.
Customize to your vision: Beyond presets, you can finely tune each Picture Control by adjusting parameters like sharpness, contrast, brightness, saturation, and hue. Create and save your personalized settings for consistent results across different shooting scenarios. Experiment with these adjustments to achieve your desired look – whether it’s a punchy, vibrant landscape or a soft, muted portrait.
Applying Picture Controls: Access Picture Control settings through the camera’s menu. You can apply them to both JPEG and RAW images, though RAW files retain all image data for flexible editing later. Mastering Picture Controls empowers you to express your artistic vision directly through the lens.
White Balance Adjustment
Achieve accurate colors! White balance ensures colors are rendered accurately, compensating for different lighting conditions. The D7200 offers a range of White Balance settings, from Auto to preset options like Daylight, Cloudy, Fluorescent, and Incandescent.
Fine-tuning for perfection: Auto White Balance is convenient, but for critical shots, manual adjustment is key. Utilize the custom White Balance setting by photographing a white or gray card under the prevailing light. This creates a precise reference point for the camera.
Kelvin temperature control: For ultimate control, adjust the White Balance using Kelvin temperature. Higher values create cooler (bluer) tones, while lower values produce warmer (yellower) tones. Experiment to achieve the desired mood and color accuracy in your images, ensuring natural-looking results.
Custom Function Settings
Personalize your D7200! Custom Functions allow you to tailor the camera’s operation to your shooting style. Access these settings via the Setup menu, offering a vast array of customizable options for buttons, dials, and display settings.
Streamline your workflow: Assign frequently used functions to buttons for quick access, reducing the need to navigate menus. Customize the information displayed in the viewfinder and on the LCD screen to prioritize essential data.
Save time and effort: Create and save multiple Custom Settings banks (U1, U2, U3) for different shooting scenarios. This enables instant recall of your preferred settings, ensuring you’re always ready to capture the perfect shot, maximizing efficiency and creative control.

Troubleshooting Common Issues
Resolve problems quickly! This section addresses frequent concerns like error messages, autofocus difficulties, and battery performance, ensuring smooth operation.
Error Messages and Solutions
Decoding Camera Alerts: Encountering an error message can be frustrating, but the Nikon D7200 provides specific codes to pinpoint the issue. Common errors include “Battery Low” (replace or recharge), “Card Full” (insert a new card or delete files), and “Lens Not Attached” (ensure proper connection).
More complex messages, like “Error E1” or “Error E2”, often indicate internal camera problems requiring professional service. Always consult the full error code list in the complete manual. Before seeking repair, try resetting the camera to factory defaults via the setup menu. This can resolve software glitches. Remember to back up your images regularly to prevent data loss during troubleshooting. Ignoring persistent errors can lead to further damage.
Dealing with Autofocus Problems
Troubleshooting Focus Issues: If your Nikon D7200 struggles to achieve sharp focus, several factors could be at play. First, verify your chosen AF-point mode aligns with your subject. Experiment with Single-point AF for stationary subjects and Dynamic-area AF for moving ones. Ensure sufficient light; low light can hinder autofocus performance.
Clean the lens contacts and the camera’s autofocus sensor. Try a different lens to rule out lens-specific issues. Check your focus settings – accidental changes can cause blurriness. If problems persist, reset autofocus settings to default. Finally, consider using back-button focus for greater control.

Battery Life and Power Management
Maximizing Battery Performance: The Nikon D7200’s battery life is respectable, but mindful power management extends shooting time. Utilize the camera’s power-saving features, including auto power-off and reduced viewfinder brightness. Live View consumes more power; use the optical viewfinder whenever possible.
Disable unnecessary features like image stabilization when not required. Carry a spare, fully charged battery, especially during extended shoots. Avoid extreme temperatures, as they can reduce battery capacity. Consider using an external power source via the USB port for prolonged operation during time-lapses or video recording.
Comments