Article Plan: Free Printable Resistance Band Exercise Chart PDF (as of 10/03/2026 12:09:42)
This comprehensive guide details a free, downloadable PDF chart for resistance band exercises, covering routines for legs, arms, chest, and back.
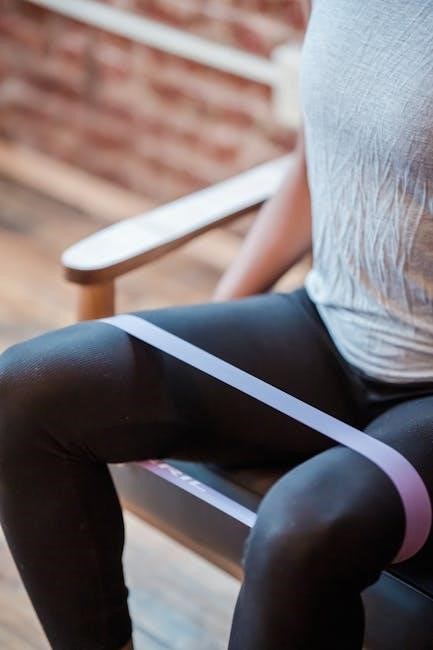
Resistance band training is a versatile and effective way to build strength, improve flexibility, and enhance overall fitness. These portable and affordable tools offer a convenient alternative to traditional weights, making them ideal for home workouts or travel. A free printable resistance band exercise chart PDF simplifies your fitness journey, providing a visual guide to various exercises targeting different muscle groups.
This article will explore the benefits of using resistance bands, different band types, and how to utilize a printable chart to maximize your workout potential. We’ll cover exercises for legs, arms, chest, and back, alongside safety considerations and resources for further learning.
What are Resistance Bands?
Resistance bands are elastic tools used for strength training, providing varying levels of tension to challenge muscles during exercise routines.
Benefits of Using Resistance Bands
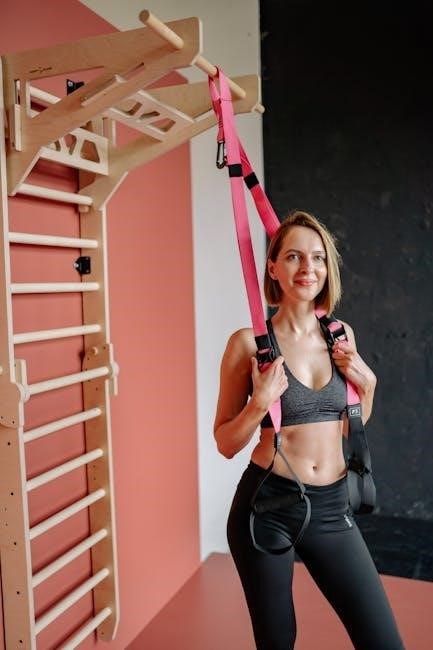
Resistance bands offer a multitude of advantages for fitness enthusiasts of all levels. They are incredibly portable and lightweight, making them perfect for home workouts or travel. Unlike traditional weights, bands provide variable resistance, meaning the tension increases as the band stretches, challenging muscles throughout the entire range of motion.
This leads to improved muscle strength, endurance, and flexibility. Bands are also joint-friendly, making them suitable for rehabilitation or individuals with joint pain. Furthermore, they are a cost-effective alternative to expensive gym memberships or bulky weight equipment, offering a versatile and accessible fitness solution.
Why a Printable Chart is Useful
A printable resistance band exercise chart streamlines your workout experience. It eliminates the need to constantly refer to a phone or tablet during exercise, promoting better form and focus. Having a visual guide readily available ensures you remember proper technique and target the correct muscle groups.
Charts often include sets, reps, and exercise variations, simplifying workout planning. A physical chart is also ideal for those who prefer a tactile approach to fitness, allowing for easy tracking of progress and customization of routines. It’s a convenient and effective tool for maximizing your band workouts.

Types of Resistance Bands
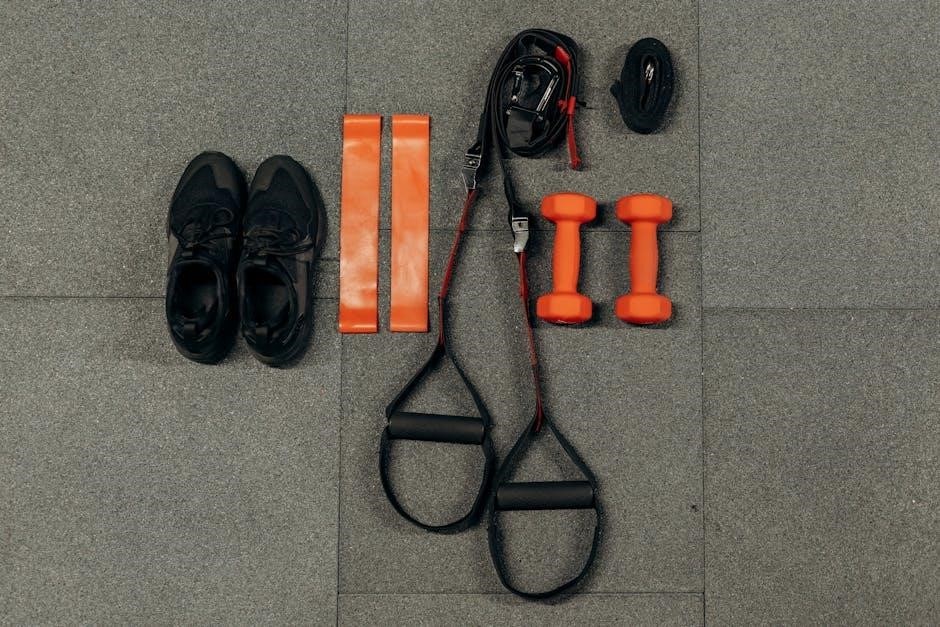
Resistance bands come in varying levels and materials, like latex or fabric, offering diverse options to match individual fitness goals and preferences.
Different Resistance Levels Explained
Resistance bands are color-coded to indicate their strength, allowing users to progressively challenge themselves. Lighter bands (yellow, green) are ideal for beginners or rehabilitation, offering minimal resistance for learning proper form. Medium bands (red, blue) provide moderate resistance, suitable for intermediate users building strength and endurance.
Heavier bands (black, silver, gold) deliver significant resistance, targeting advanced users focused on muscle hypertrophy and power. Choosing the correct resistance is crucial; start with a lighter band and increase as you gain strength. A printable chart often indicates the appropriate level for each exercise, ensuring safe and effective workouts.
Material Variations (Latex, Fabric, etc.)
Resistance bands come in diverse materials, each offering unique benefits. Latex bands are the most common, providing excellent elasticity and affordability. However, latex allergies are a concern for some users. Fabric bands, often made from cotton or polyester blends, offer a comfortable, skin-friendly alternative, though they may be less durable.
Thermoplastic elastomer (TPE) bands are another option, known for their durability and latex-free composition. A free printable chart won’t detail material specifics, but understanding these variations helps select bands aligning with individual needs and sensitivities.
Choosing the Right Band for Your Fitness Level
Selecting the appropriate resistance band is crucial for effective and safe workouts. Beginners should start with lighter resistance, focusing on proper form before increasing intensity. Intermediate users can progress to medium resistance, challenging their muscles further. Advanced fitness enthusiasts may opt for heavier bands or combine multiple bands for maximum resistance.
A free printable chart often doesn’t specify band selection, so consider your current strength and fitness goals. Gradually increase resistance as you get stronger, ensuring controlled movements throughout each exercise.
Key Muscle Groups & Band Exercises
Explore targeted exercises utilizing resistance bands for legs, glutes, arms, shoulders, chest, and back, maximizing your workout’s effectiveness and versatility.
Resistance Band Exercises for Legs & Glutes
Strengthen and tone your lower body with a variety of resistance band exercises. Key movements include squats, performed with the band positioned above the knees for added challenge, ensuring a chest-lifted posture. Lying side leg raises target outer glutes, while hip bridges with a band around the thighs enhance glute activation.
Leg abduction exercises, also using a band around the ankles, isolate the gluteus medius. Kneeling banded kickbacks effectively work the glutes and hamstrings. Don’t forget the single leg deadlift with a band, improving balance and hamstring strength. Aim for 3 sets of 15-20 repetitions for optimal results.
Squats with Resistance Band
Elevate your squat routine by incorporating a resistance band. Position the band securely under your feet, shoulder-width apart, and place it above your knees. Maintain a chest-lifted, abdominal-tightened posture throughout the exercise. Step with one foot out to the side while squatting down, ensuring your knees track behind your toes and over your ankles.
Hold the squat position briefly, feeling the resistance in your glutes and thighs. Slowly return to the starting position, controlling the movement. Perform 3 sets of 15-20 repetitions to effectively target your legs and glutes, enhancing strength and stability.
Lying Side Leg Raises
Strengthen your outer thighs and glutes with lying side leg raises using a resistance band. Lie on your side with the band positioned above your ankles. Keep your body in a straight line, engaging your core for stability. Slowly lift your top leg against the band’s resistance, maintaining a controlled motion.
Focus on squeezing your glutes at the peak of the movement. Lower your leg back to the starting position with control. Complete 3 sets of 15-20 repetitions on each leg for optimal results, improving hip abduction strength and stability.
Hip Bridges with Band
Target your glutes and hamstrings effectively with hip bridges utilizing a resistance band. Position the band around your thighs, just above your knees. Lie on your back with knees bent and feet flat on the floor. Engage your core and lift your hips off the ground, squeezing your glutes at the top of the movement.
Maintain the band’s tension throughout the exercise, preventing your knees from collapsing inward. Slowly lower your hips back down with control. Perform 3 sets of 15-20 repetitions to enhance glute activation and lower body strength.
Leg Abduction with Band
Strengthen your outer thighs and glutes with leg abduction exercises using a resistance band. Secure the band around your ankles. Stand with feet hip-width apart, maintaining a slight bend in your knees. Keeping your core engaged and back straight, slowly move one leg out to the side against the band’s resistance.
Focus on controlled movements, avoiding any twisting of your torso. Return to the starting position and repeat on the other side. Aim for 3 sets of 15-20 repetitions per leg to improve hip stability and leg strength.
Kneeling Banded Kickbacks
Target your glutes with kneeling banded kickbacks for a focused and effective workout. Secure the resistance band around both ankles. Kneel on a mat, maintaining a straight line from your head to your knees. Keeping your core engaged and back flat, slowly extend one leg straight back against the band’s resistance.
Squeeze your glutes at the top of the movement, then slowly return to the starting position. Repeat on the other side. Perform 3 sets of 15-20 repetitions per leg for enhanced glute activation and improved lower body strength.
Single Leg Deadlift with Band
Challenge your balance and hamstring strength with the single leg deadlift, enhanced by resistance bands. Place the band under your supporting foot and loop the other end around your opposite leg, just above the knee. Hinge at the hips, extending the non-supporting leg straight back while keeping your back flat.
Lower your torso towards the ground, maintaining a slight bend in the supporting knee. Feel the stretch in your hamstrings and glutes. Return to the starting position, squeezing your glutes. Perform 3 sets of 10-12 repetitions per leg.
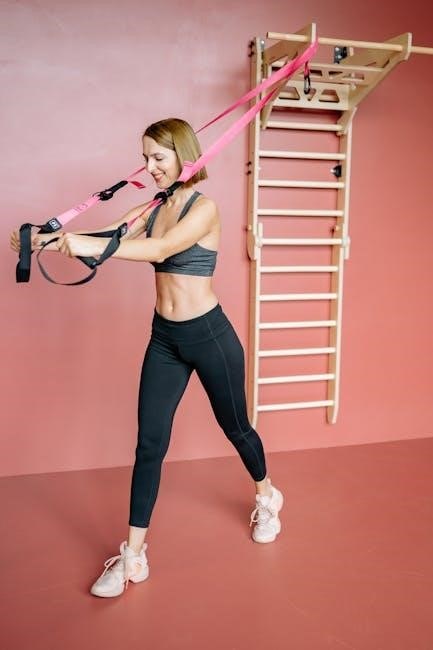
Resistance Band Exercises for Arms & Shoulders
Sculpt toned arms and strong shoulders with a variety of resistance band exercises. These movements effectively target biceps, triceps, and deltoids, offering a versatile workout solution. Key exercises include bicep curls, performed by stepping on the band and curling upwards, and tricep extensions, achieved by anchoring the band overhead and extending your arms.
Shoulder presses and lateral raises further enhance upper body strength. Remember to maintain proper form throughout each exercise, focusing on controlled movements and engaging the targeted muscle groups for optimal results.
Bicep Curls with Band
Effectively isolate and strengthen your biceps with resistance band curls. Begin by standing on the center of the band, feet shoulder-width apart, ensuring a secure grip on the handles. Keep your elbows close to your body throughout the movement. Slowly curl the band upwards towards your shoulders, squeezing your biceps at the peak contraction.
Control the descent back to the starting position, resisting the band’s pull. Perform 3 sets of 15-20 repetitions for optimal results. Focus on maintaining good posture – chest lifted and core engaged – to maximize effectiveness and prevent injury.
Tricep Extensions with Band
Target your triceps for increased arm strength with this effective band exercise. Securely anchor the resistance band overhead, using a sturdy door anchor or similar setup. Grasp the band with an overhand grip, keeping your elbows close to your head. Extend your forearms downwards, straightening your arms and fully contracting your triceps.
Slowly return to the starting position, controlling the band’s resistance. Complete 3 sets of 15-20 repetitions. Maintain a stable core and avoid flaring your elbows outward. Proper form is crucial for maximizing results and preventing strain.
Shoulder Press with Band
Strengthen your shoulders and upper back with resistance band shoulder presses. Stand on the middle of the band, feet shoulder-width apart, holding the ends with palms facing forward. Keeping your core engaged and back straight, press your hands upwards towards the ceiling, extending your arms fully.
Slowly lower your hands back to the starting position, maintaining control throughout the movement. Perform 3 sets of 15-20 repetitions. Avoid arching your back and ensure a smooth, controlled motion for optimal results and injury prevention.
Lateral Raises with Band
Target your medial deltoids for broader shoulders with resistance band lateral raises. Stand on the band with feet shoulder-width apart, holding the handles with a slight bend in your elbows. Keeping your core engaged and back straight, raise your arms out to the sides until they reach shoulder height.
Slowly lower your arms back to the starting position, maintaining control. Complete 3 sets of 15-20 repetitions. Avoid swinging your body and focus on using your shoulder muscles. This exercise enhances shoulder stability and definition.
Resistance Band Exercises for Chest & Back
Strengthen your upper body with targeted exercises for the chest and back using resistance bands. The chest press with a band mimics a dumbbell press, building pectoral muscles. Bent-over rows effectively work the back muscles, promoting posture and strength.
These exercises are easily adaptable to different resistance levels. Secure the band appropriately for each movement, maintaining proper form throughout. Incorporate these into your routine for a well-rounded upper body workout, enhancing overall strength and muscle definition. Remember to control the movement.
Chest Press with Band
The Chest Press with Band effectively targets your pectoral muscles, simulating a traditional dumbbell press. Secure the band behind your back, holding the ends in each hand. Ensure a stable base, either seated or standing. Extend your arms forward, pressing the band outwards, mimicking a pressing motion.
Maintain a controlled tempo, focusing on squeezing your chest muscles during the extension. Return to the starting position slowly. This exercise is scalable by adjusting band resistance or grip width. Proper form is crucial; keep your chest lifted and core engaged throughout the movement for optimal results.
Bent-Over Rows with Band
Bent-Over Rows with Band are excellent for strengthening your back muscles, specifically the latissimus dorsi and rhomboids. Secure the band under your feet, then hinge at the hips, maintaining a straight back. Grip the band ends with palms facing each other. Pull the band towards your torso, squeezing your shoulder blades together.
Focus on controlled movements, avoiding jerky motions; Keep your core engaged and back straight throughout the exercise. Slowly return to the starting position, resisting the band’s pull. Adjust band tension or stance for varied difficulty. Proper form prevents injury and maximizes back muscle engagement.

Creating Your Resistance Band Workout
Design effective routines incorporating warm-ups, varied exercises for different muscle groups, and appropriate sets, reps, and rest periods for optimal results.
Warm-up Exercises with Bands
Prior to a full resistance band workout, a dynamic warm-up is crucial for injury prevention and maximizing performance. Begin with light cardio, like band walks – side steps with a band around your ankles – for approximately one minute. Follow this with arm circles, both forward and backward, using a band for added resistance.
Include band pull-aparts to activate the rear deltoids and improve posture. Perform 10-15 repetitions of each exercise, focusing on controlled movements. Gentle leg swings with a band around the ankles also prepare the lower body. Remember to maintain proper form throughout the warm-up to effectively prepare your muscles for the more intense exercises to come.
Sample Workout Routines (Beginner, Intermediate, Advanced)
Beginner routines should focus on foundational movements with lighter bands, performing 2 sets of 10-12 repetitions. Include exercises like band squats, bicep curls, and lateral walks. Intermediate routines increase to 3 sets of 12-15 repetitions, incorporating more challenging exercises like bent-over rows and shoulder presses with medium resistance bands.
Advanced routines utilize heavier bands and introduce complex movements like single-leg deadlifts and chest presses, completing 3-4 sets of 15-20 repetitions. Remember to adjust band resistance based on your strength level and prioritize proper form throughout each routine.
Sets, Reps, and Rest Periods
For building muscular endurance, aim for 2-3 sets of 12-20 repetitions with minimal rest (30-60 seconds) between sets. To increase strength, perform 3-4 sets of 8-12 repetitions using heavier resistance, allowing for 60-90 seconds of rest. Beginners should start with fewer repetitions and lighter bands, gradually increasing the intensity.
Listen to your body and adjust the sets, reps, and rest periods accordingly. Prioritize controlled movements over completing a high number of repetitions with poor form. Consistency is key for achieving optimal results.
Finding & Using a Free Printable Chart
Numerous online resources offer free PDF charts detailing resistance band exercises, complete with visual guides and instructions for effective home workouts.
Where to Download a Free PDF Chart
Locating a free printable resistance band exercise chart is surprisingly easy! Several websites specialize in fitness resources, offering downloadable PDFs directly. A quick online search for “resistance band workout PDF” yields numerous results. Many fitness blogs and websites provide these charts as lead magnets, requiring only an email address for access.
Specifically, resources mention downloadable charts featuring 55 exercises, broken down by muscle group for convenient use. These charts often include suggested sets, repetitions, and even complete workout plans. Remember to preview the chart to ensure it aligns with your fitness level and goals before downloading and printing.
Understanding Chart Symbols & Instructions
Deciphering a resistance band exercise chart requires attention to detail. Charts commonly use symbols to indicate sets, repetitions (often 15-20), and rest periods. Illustrations demonstrate proper form, crucial for safety and effectiveness. Pay close attention to foot placement and body alignment shown in the diagrams.
Instructions often specify band anchoring methods – whether around feet, a stable object, or held by a partner. Charts may also categorize exercises by muscle group (legs, arms, chest, back) for targeted workouts. Always prioritize maintaining a neutral spine and controlled movements as highlighted in the guidance.
Tips for Printing & Using the Chart Effectively
For optimal use, print the PDF chart on durable paper, perhaps laminating it to withstand sweat and frequent handling. Ensure clear printing of illustrations and instructions for easy comprehension during workouts. Consider printing multiple copies – one for your workout space and a spare for travel.
When using the chart, highlight or check off completed exercises to track progress. Refer to the diagrams frequently to maintain correct form. Keep the chart readily accessible during your routine, and don’t hesitate to consult online video tutorials for clarification.
Safety Considerations
Prioritize safety by inspecting bands for damage before each use, maintaining proper form, and avoiding overextension to prevent injuries during resistance training.
Checking Band Condition Before Use
Before initiating any resistance band workout, a thorough inspection of the bands is absolutely crucial for safety. Carefully examine each band for any signs of wear and tear, including nicks, cuts, worn spots, or cracks. These imperfections can compromise the band’s integrity, potentially leading to snapping during exercise and causing injury.
A compromised band loses its elasticity and becomes unpredictable. Gently stretch the band to assess its resilience; if it feels brittle or lacks snap-back, it’s time for replacement. Regularly checking the condition of your resistance bands is a simple yet vital step in ensuring a safe and effective workout experience, protecting you from potential harm.
Proper Form & Technique
Maintaining correct form during resistance band exercises is paramount to maximizing benefits and preventing injuries. Focus on controlled movements, engaging the targeted muscle groups throughout each repetition. A neutral spine – maintaining the natural curves of your back – is essential for stability and injury prevention.
Avoid jerky or rushed motions; instead, prioritize slow, deliberate movements. Keep your chest lifted, shoulders back, and head aligned with your spine. Proper technique ensures the resistance is applied effectively, leading to better results and a safer workout experience. Prioritize form over the number of repetitions.
Avoiding Common Mistakes
Several common errors can hinder progress and increase injury risk when using resistance bands. Don’t rush through exercises; controlled movements are key. Avoid letting the band snap back – maintain tension throughout the exercise. Ensure the band is securely anchored or held to prevent slippage.
Many beginners use too much resistance initially; start with lighter bands and gradually increase the challenge. Neglecting a proper warm-up can lead to muscle strains. Finally, failing to check the band for damage before each use is a significant oversight – inspect for nicks or tears.

Resources & Further Learning
Explore online video tutorials and recommended websites/apps to deepen your understanding of resistance band exercises and proper form for optimal results.
Online Video Tutorials
Numerous platforms host excellent video tutorials demonstrating proper resistance band technique. YouTube channels dedicated to fitness frequently offer detailed walkthroughs of various exercises, ensuring correct form and maximizing effectiveness. Searching for specific muscle groups (e.g., “resistance band bicep curls”) yields targeted results.
These visual aids are invaluable for beginners, clarifying movements and preventing injuries. Look for videos featuring certified trainers who emphasize safety and proper alignment. Platforms like Vimeo and fitness app websites also provide premium content, often with structured workout programs incorporating resistance bands. Remember to always prioritize form over resistance level.
Recommended Websites & Apps
Several websites and mobile applications complement the free printable chart, offering expanded exercise libraries and workout planning tools. Websites like Bodybuilding.com and Verywell Fit feature articles and exercise demonstrations utilizing resistance bands. Fitness apps, such as FitOn and Nike Training Club, often integrate band workouts into their broader programs.

For personalized guidance, consider apps like Resistance Band Workout or Band Exercises. These provide structured routines, track progress, and offer modifications based on fitness level. Always cross-reference information and prioritize resources from reputable sources to ensure accuracy and safety.
Comments